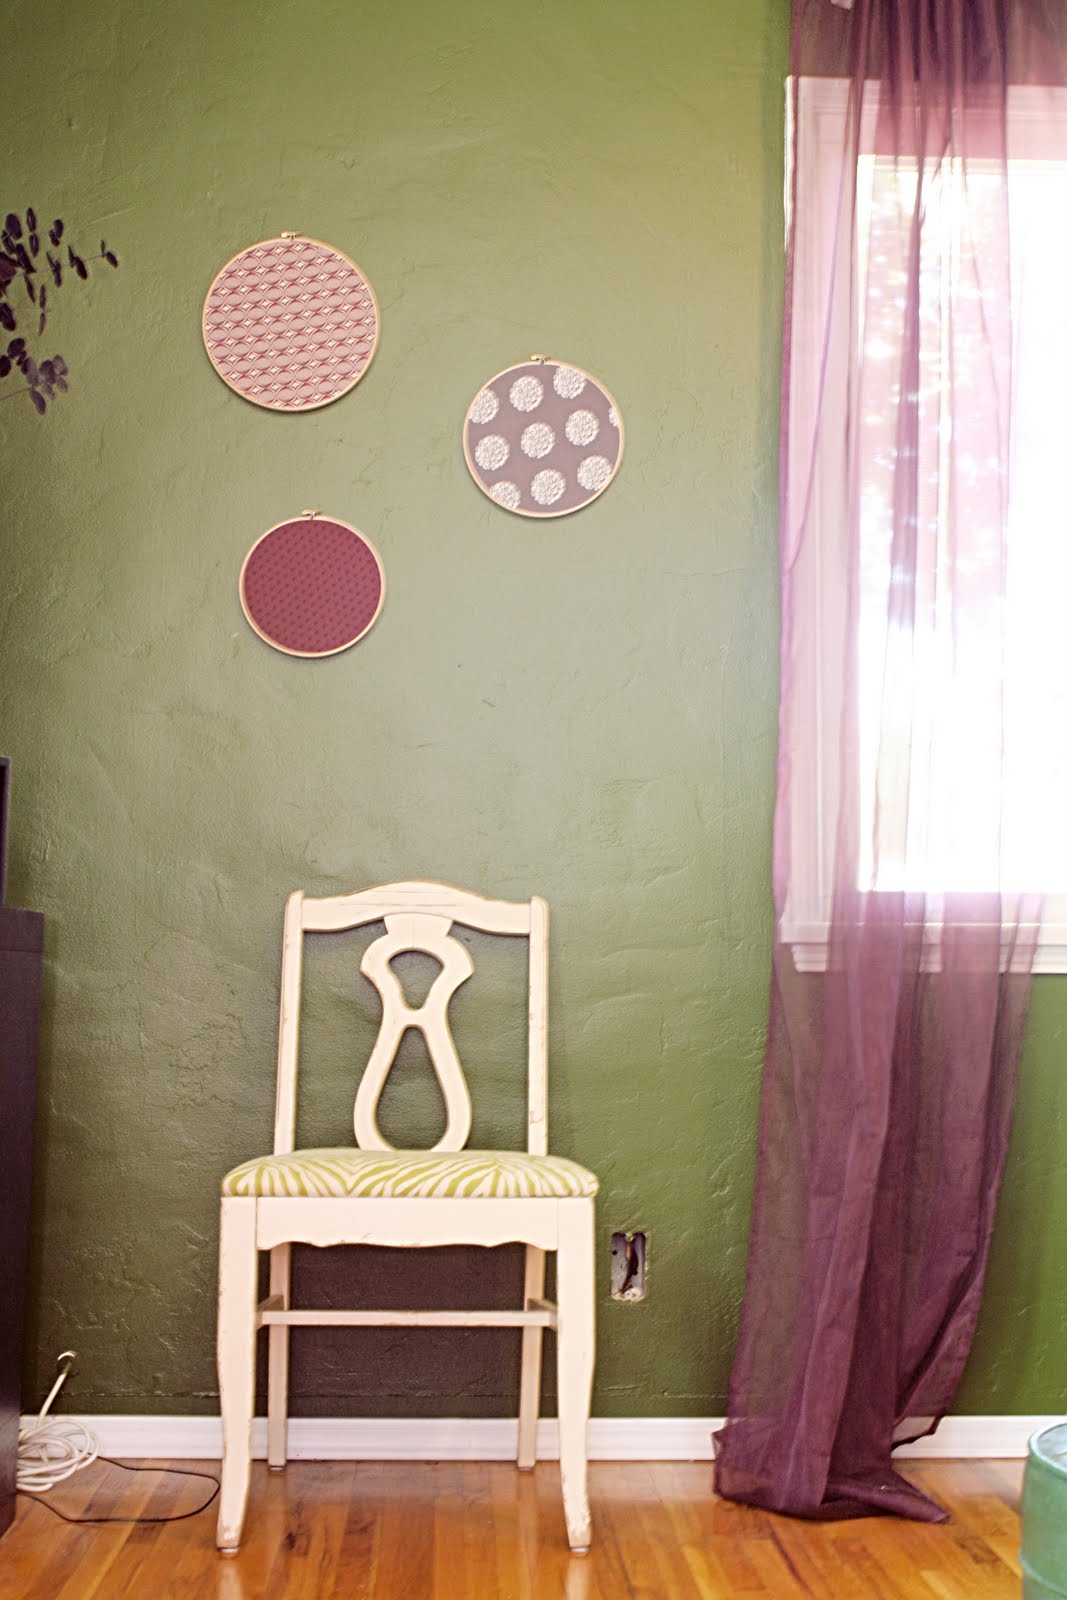
DIY
Ever since the Renegade Craft Fair, I've been itching to do some sort of project. Not too long ago I was browsing design sponge and I spotted what looked to be an easy DIY project! Unfortunately, I didn't find any instructions on how to go about doing this task so I decided to wing it. I've been looking for something fun and original to fill this empty wall in our master bedroom. I thought I would try this out and see how it turned out. If it was a flop, at least I tried!
::Materials::
Circular Wooden Embroidery Hoops: your choice as to how many and what size
Various patterns of fabric: your choice of color and design. Just remember too much is better than not enough.
Fabric scissors
Iron: this is optional, but I like to iron out my fabric before projects, wrinkles are the worst.

::Directions::
Step 1
Iron out your fabric and make sure all the fine wrinkles are no longer visible
Step 2
Unscrew first hoop and seperate the inner/outer hoop.
Step 3
Place fabric in between both hoops and push smaller hoop back into the larger hoop.

Step 4
Pull fabric tightly through both hoops and slowly tighten screw on the outer hoop. Make sure the fabric is as tight and secure as possible.

Step 5
Fasten screw as much as it will allow and cut excess fabric along the sides of the hoop.

Step 6
Repeat steps 1 through 5 for each of your hoops


Now you're ready to hang your easy and fun DIY project! Suddenly, that itch is no longer there...for now anyway!


xoxo
Love your creativity! I wish you could come to my house and do cool stuff like that!
ReplyDeleteKelly W.
It's so easy, Kelly! You can do it :)
ReplyDeletethis is so great and funny too!!! You were too small to remember, but I had a few of these hoops hanging in rooms in Vulcan... they're back.. I'm going to do it!!! Love the fabric you chose!!! <3
ReplyDelete